Configure Custom Entities
This page is currently under review. Stay tuned!
During the topic configuration phase you might need to customize the main column (Y-axis).
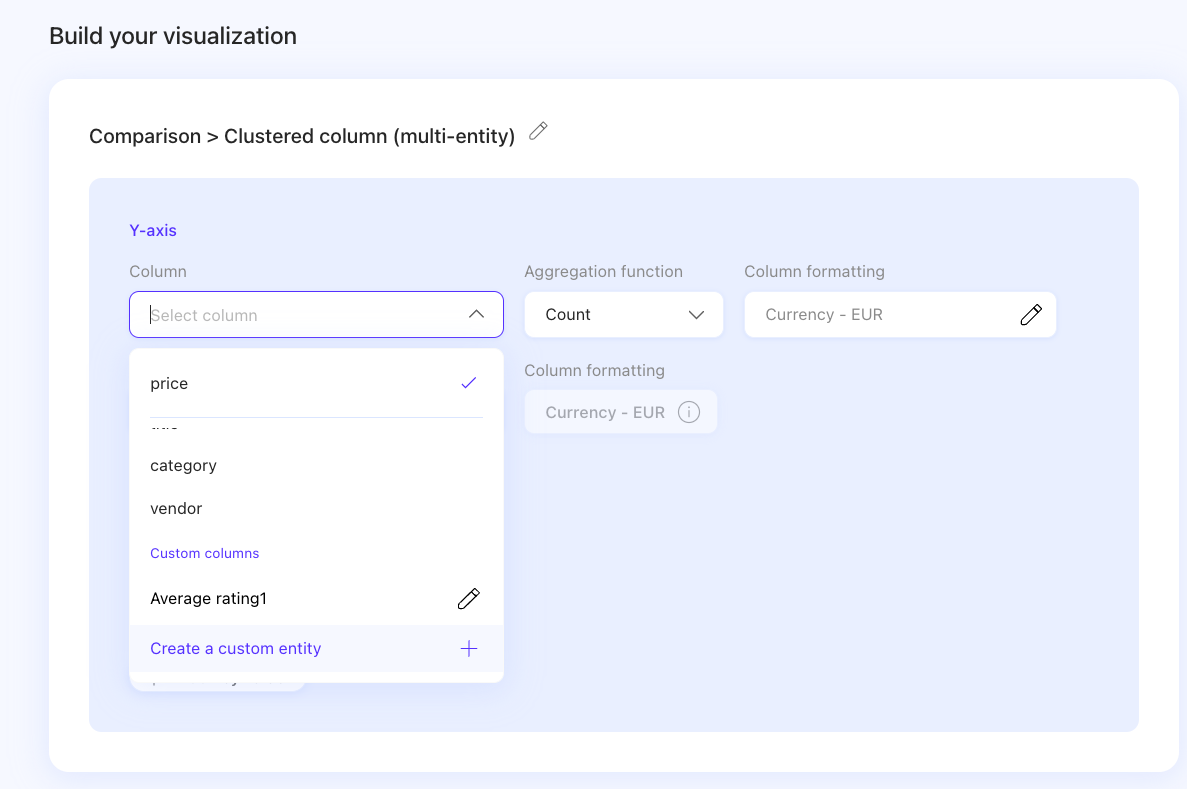
You can create a custom entity right away. In the column drop-down menu, select create a custom entity:
A new window will open, and you'll be able to create your custom entity formula, add conditions and, of course, insert your custom entity name:
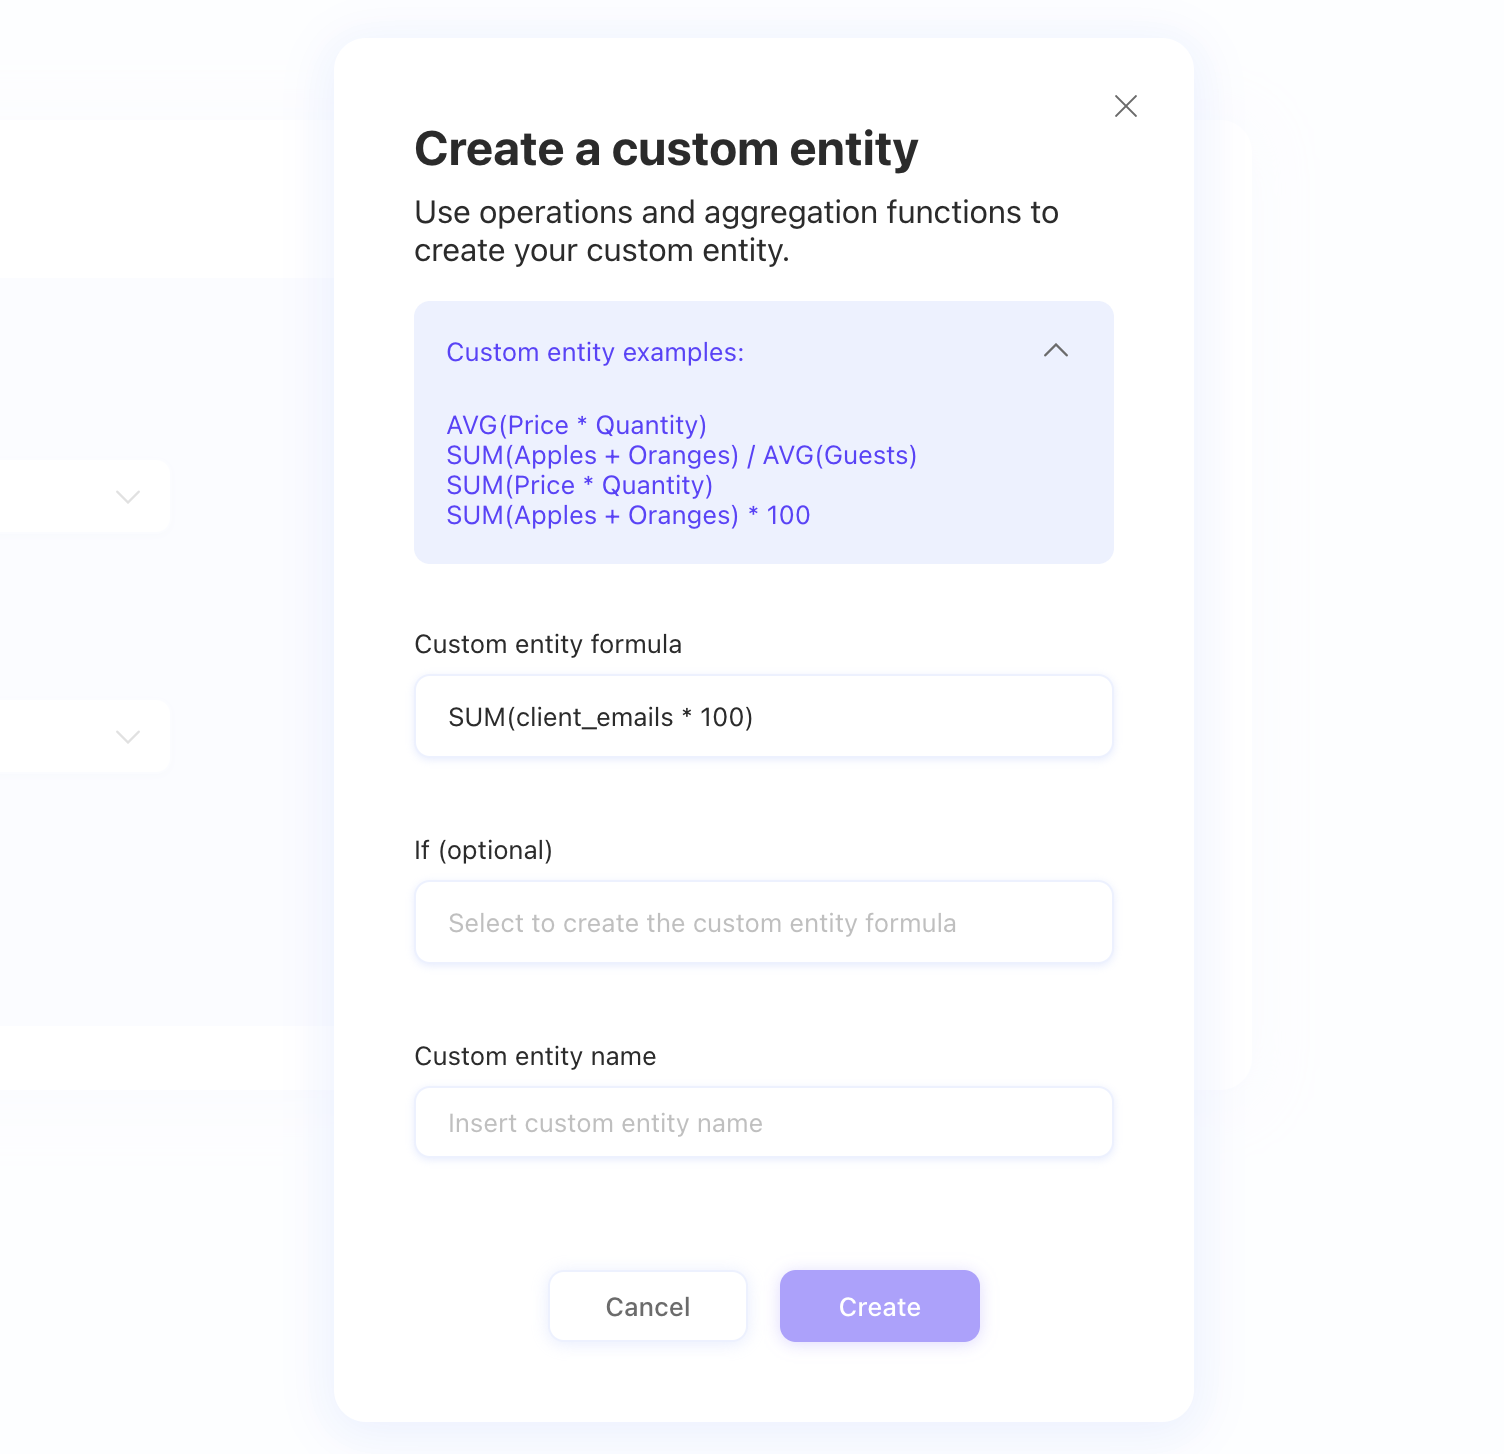
As you can see, we provided you with some custom entity examples. If you're in doubt with formulas and conditions, this video might help you out:
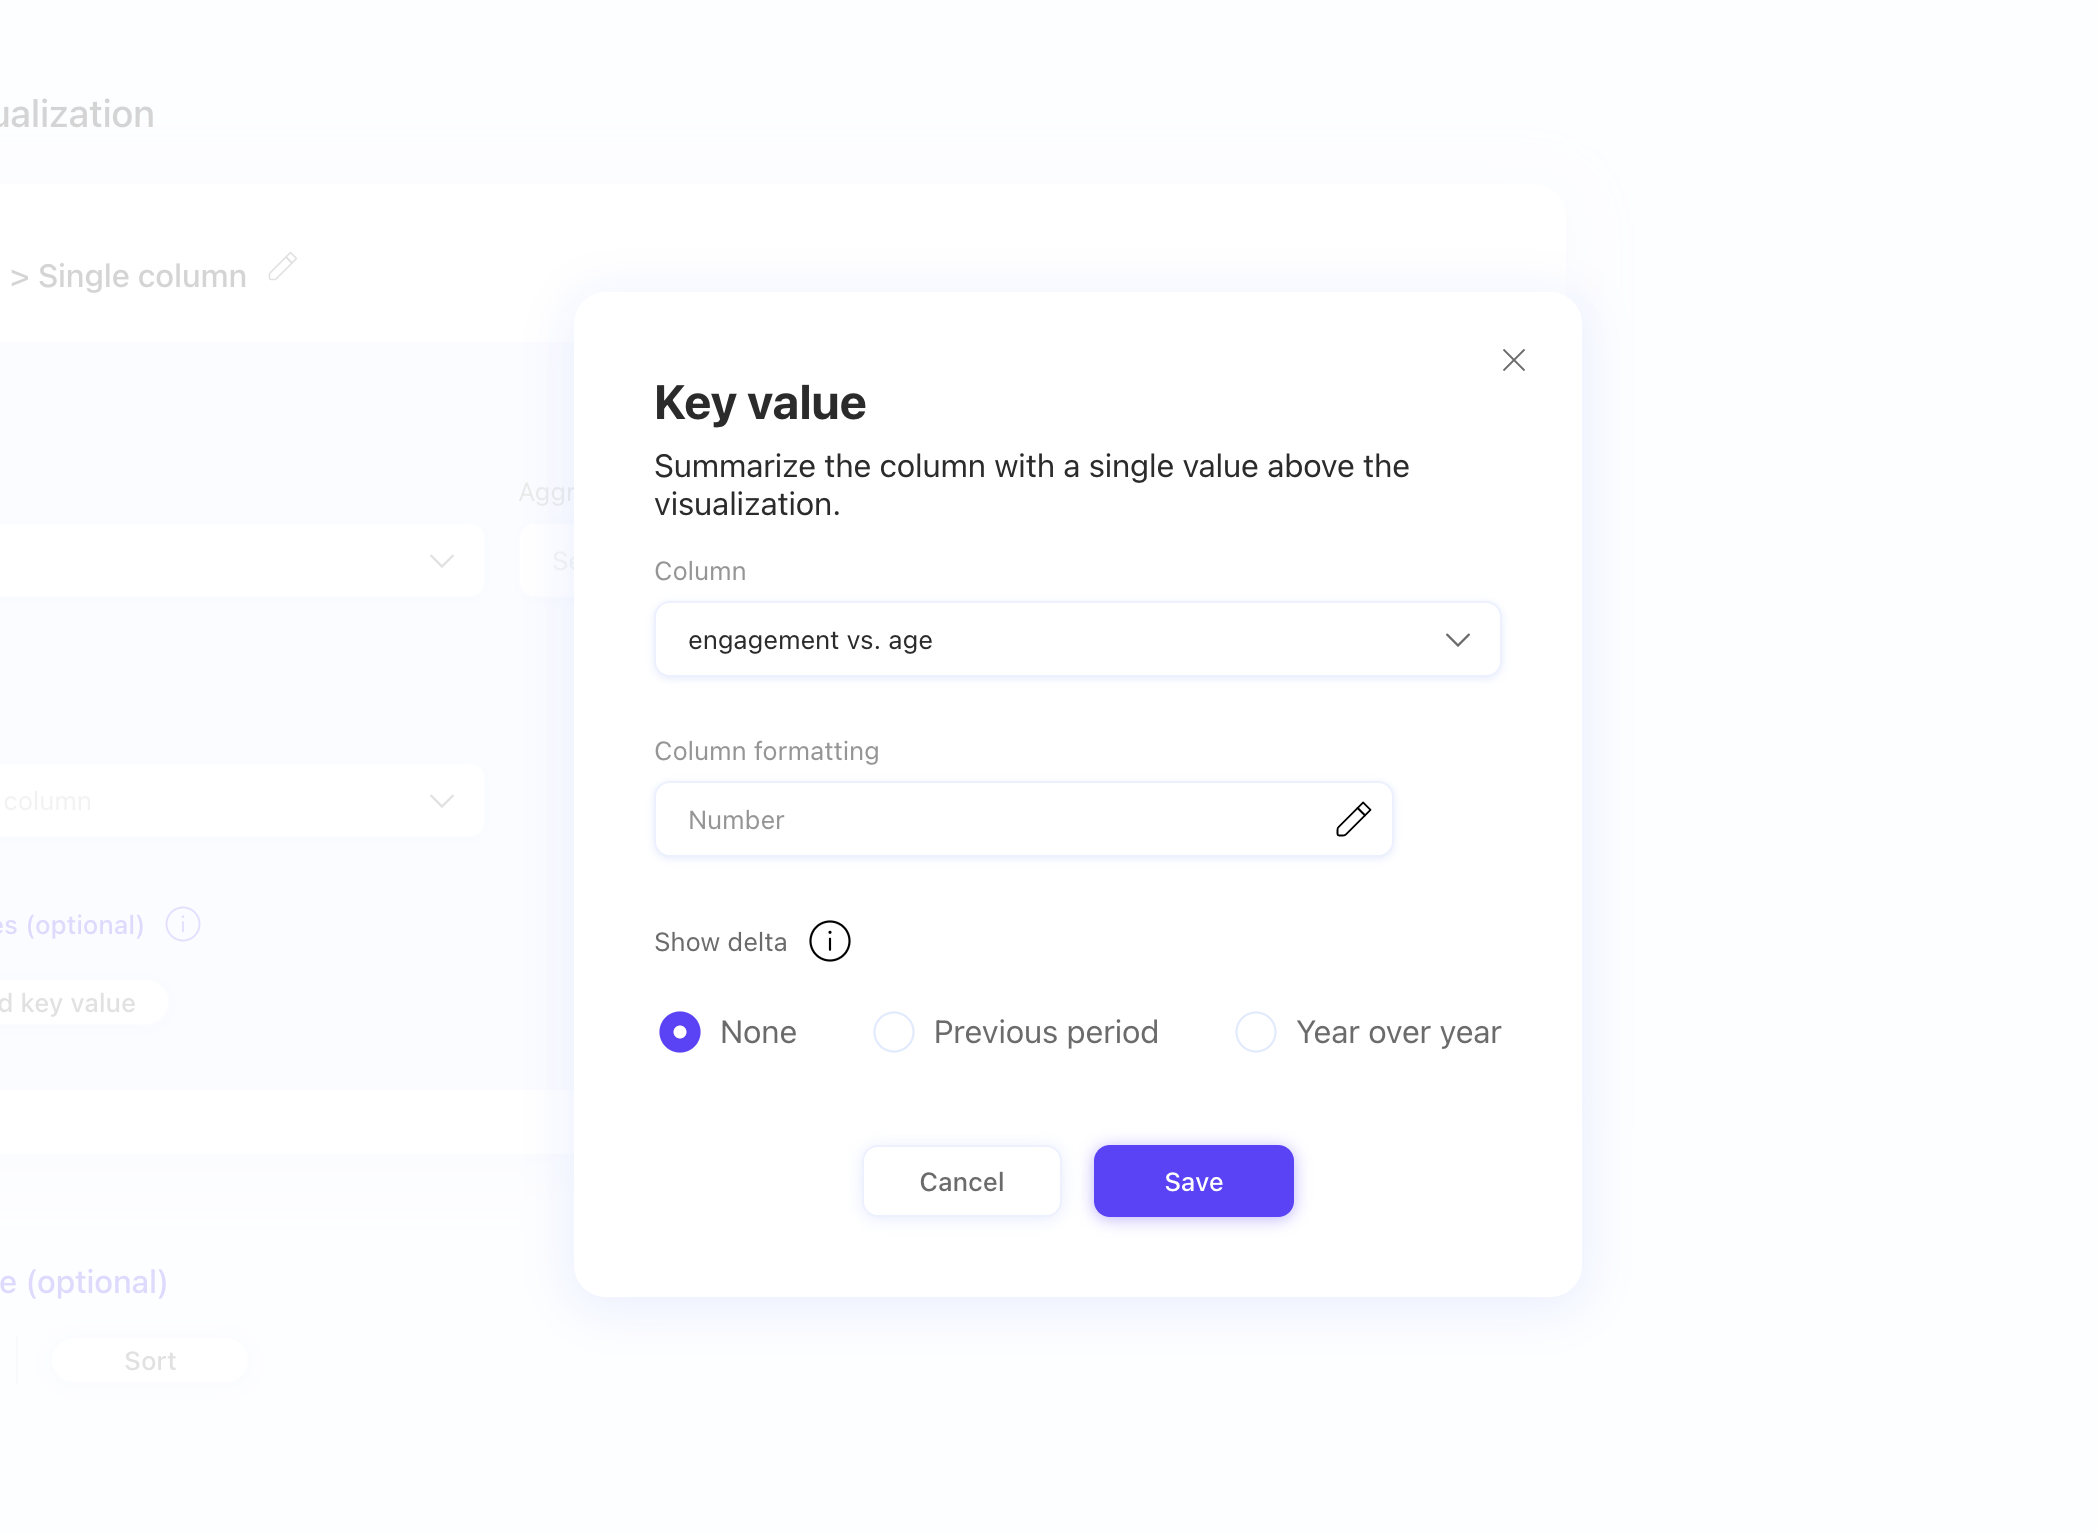
You can customize your entity even further by adding key values (see also Topic configuration: the key values) to your custom entity by clicking on the Add key value button just below. A new window will pop-up allowing you to edit your key value:
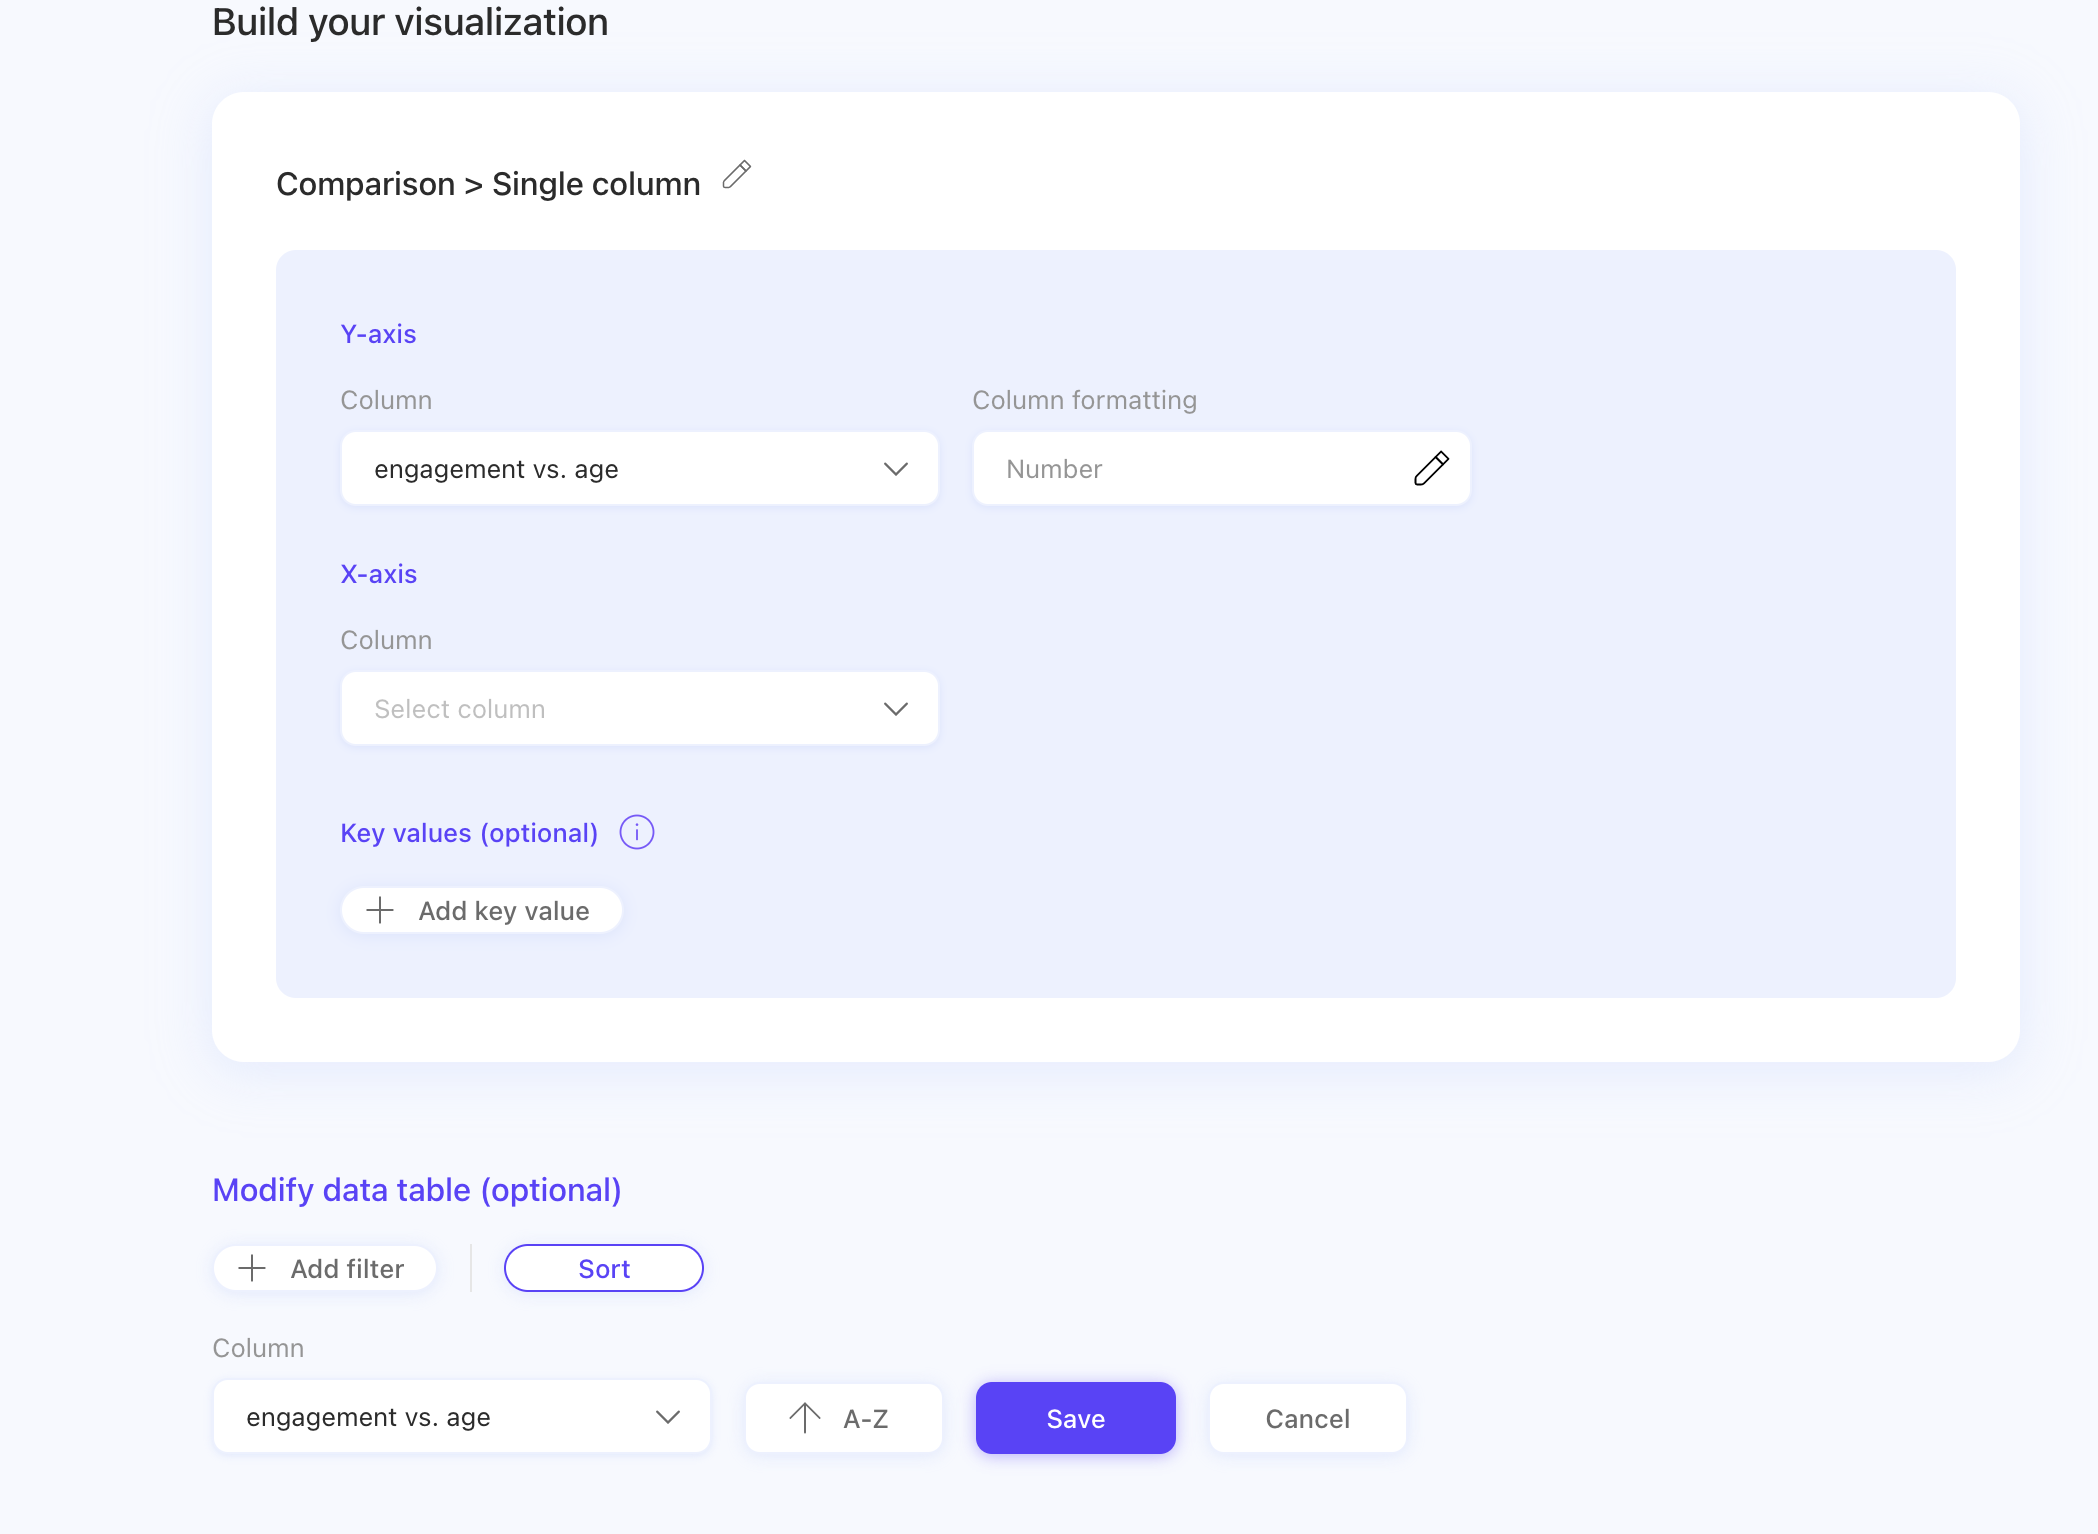
Moreover, you can also sort the custom entity you created under Modify data table (see also Topic configuration: modify data table) by clicking on the Sort button:
If you want, you can also edit a previously created custom entity: keep in mind that it works only for topics in "ready" status (check this article for more information on topic statuses).
You will be allowed to change the formulas and conditions but not the custom column name.
Here's a sample of how the custom entity editing works:
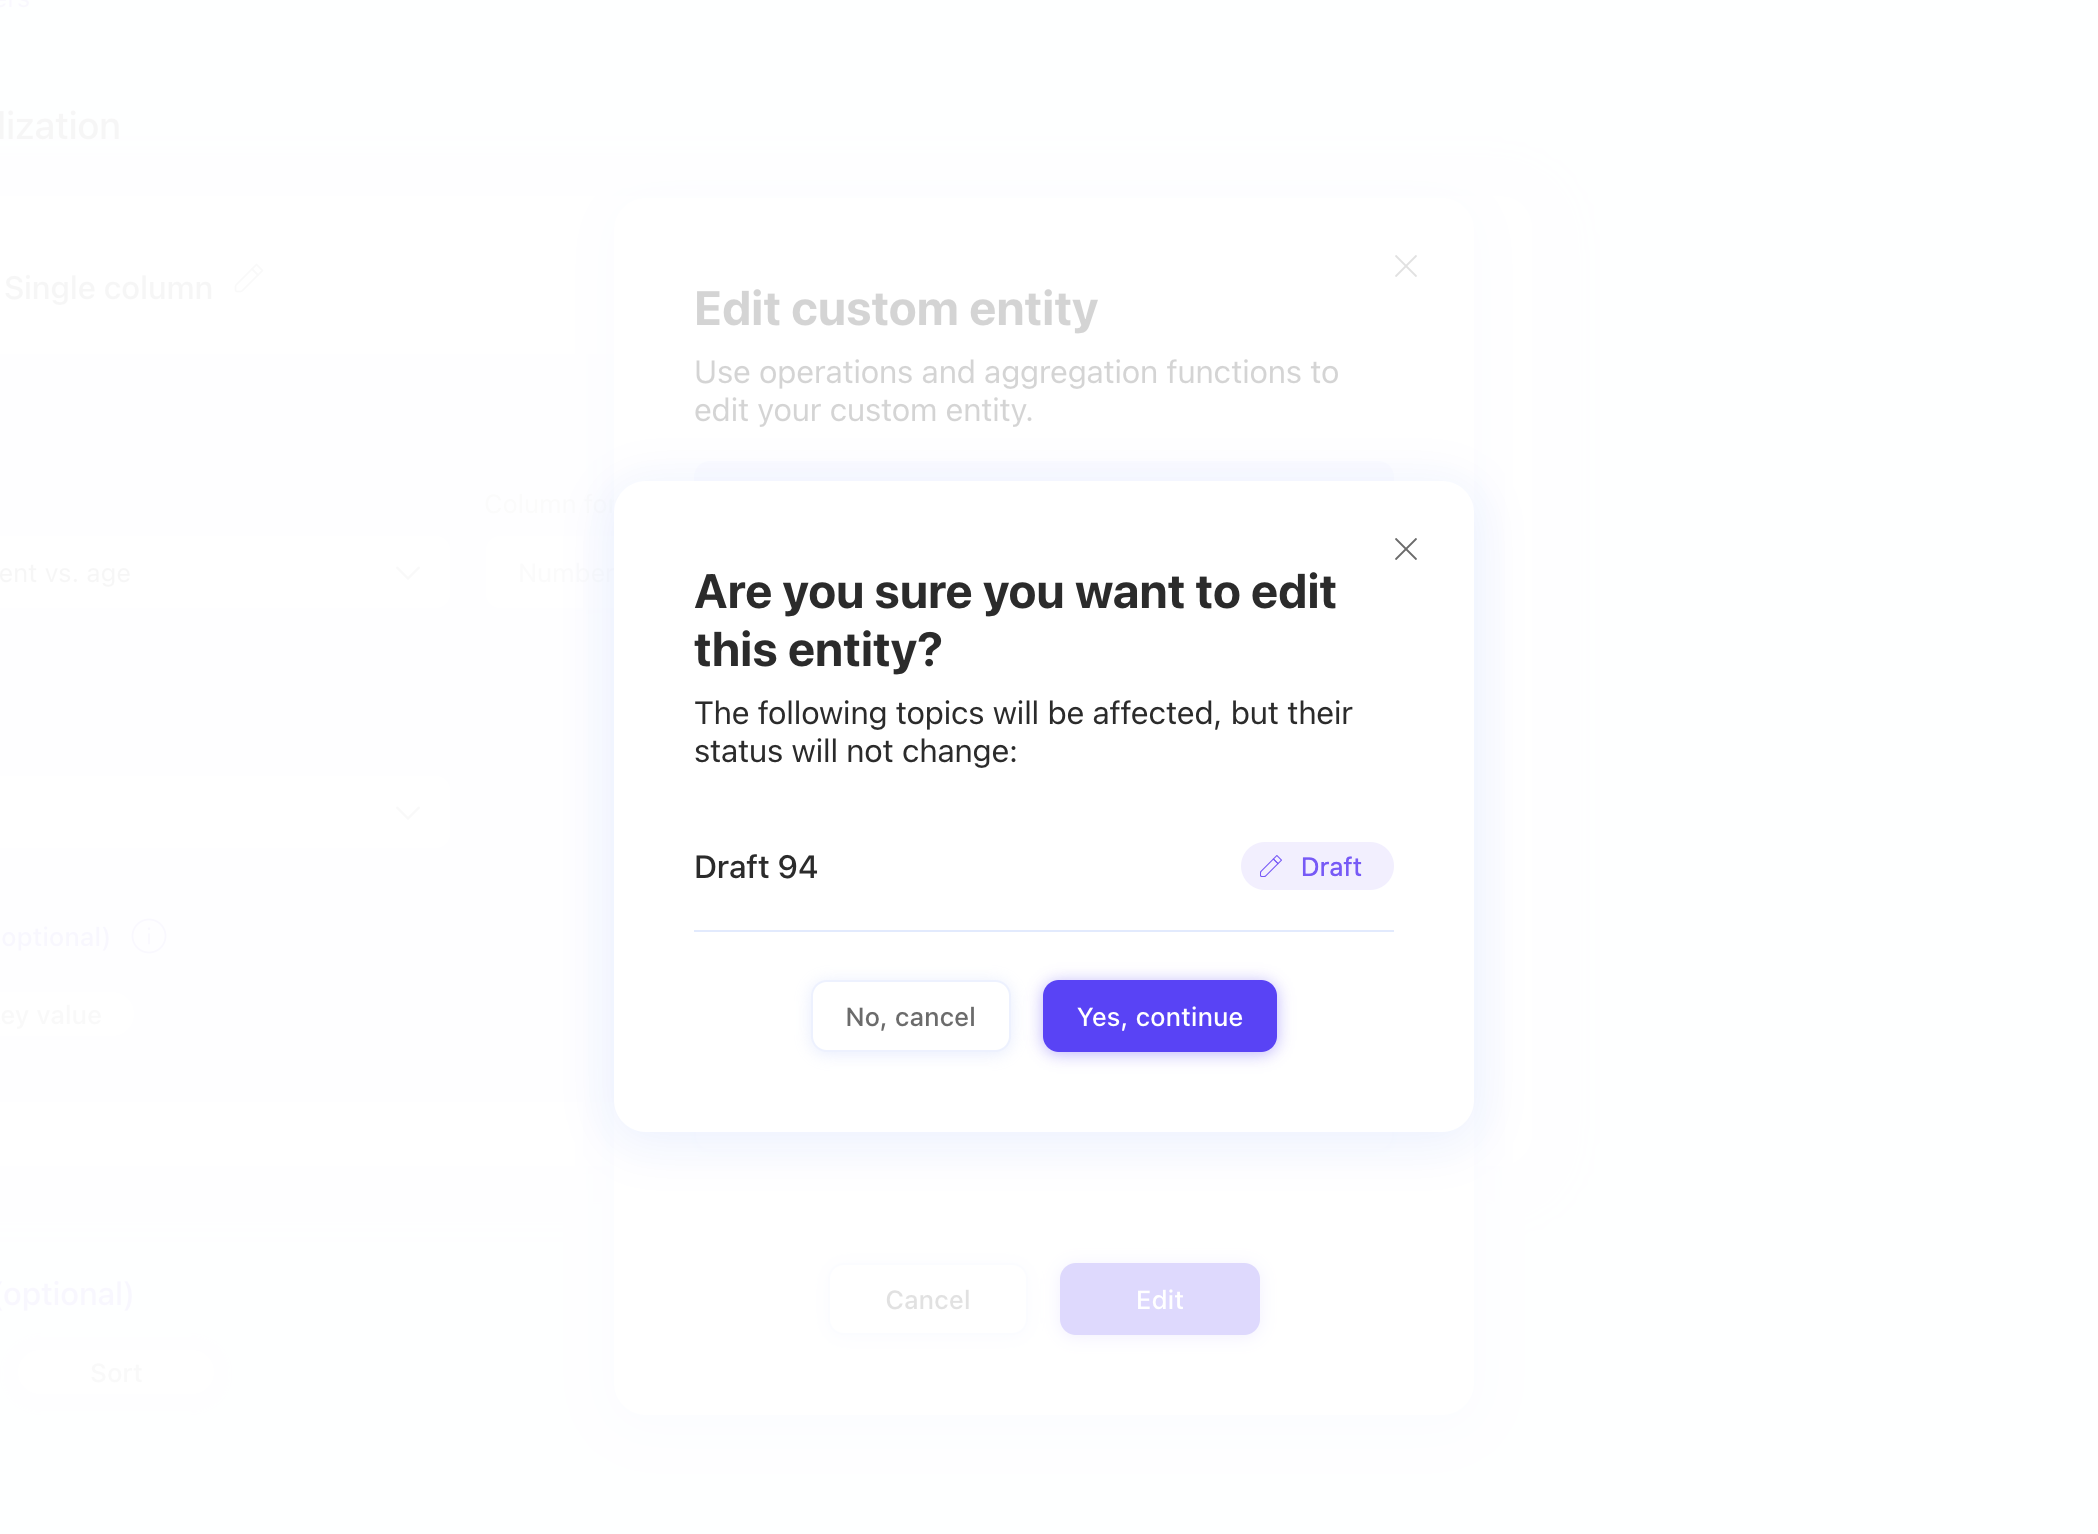
NB: when you edit a custom entity, a message will pop-up to warn you about the topics that would be affected by the editing. Keep in mind their status won't change:
Eventually, if you want to edit the aliases of your custom entity, you will find them in the Entity management panel.
Want to know more on how to manage your entities names and aliases? Check out this article!
Last updated
Was this helpful?